
Marketplace Photos: The Picture Checklist for Faster Messages
Sell used items faster with the 7-photo checklist buyers actually respond to: the shots to take, lighting and background fixes, and honest flaw photos that build trust.
ARTICLE LANGUAGE
Showing original language
Most listings that never get a message aren't priced wrong or unwanted — they're photographed badly. A buyer scrolling a marketplace makes a keep-or-skip decision in about a second, and that decision is almost entirely visual. One dark photo taken at arm's length across a messy room tells them nothing, so they keep moving to a listing that actually shows the item. The item you're selling is probably fine. The pictures just aren't doing their job.
The fix costs nothing and takes about five minutes. You don't need a nice camera, a lightbox, or editing skills — you need the right handful of shots, taken in good light, that answer the exact questions a serious buyer asks before they reply. This checklist works for anything you'd post used: furniture, electronics, baby gear, tools, a bike, a stroller, a jacket. Shoot it once the right way and your listing stops collecting "still available?" and starts collecting "when can I pick it up?"
Why your photos decide whether you get a message at all
A buyer can't touch, lift, or inspect your item through a screen. Every photo you post is standing in for that missing hands-on check. When the photos leave a question unanswered — how big is it, what's the real condition, does it work, what's that mark on the side — the buyer has two choices: message you to ask, or scroll to a listing that already answered. Most people scroll. Silence on a listing usually isn't rejection; it's the photos failing to earn the click.
This is where the searches tell a story. People type "donde vender cosas usadas" and "websites to sell locally" looking for a place to sell, land on a listing, and bounce because it doesn't show them enough to act. On Brixaz, buyers contact you directly with no middle layer, so the photos are doing the whole job of building trust before that first message. A listing that shows the item completely and honestly gets a first message that's ready to buy, not a first message that's just fishing for basics you should have shown.
The picture checklist every used listing needs
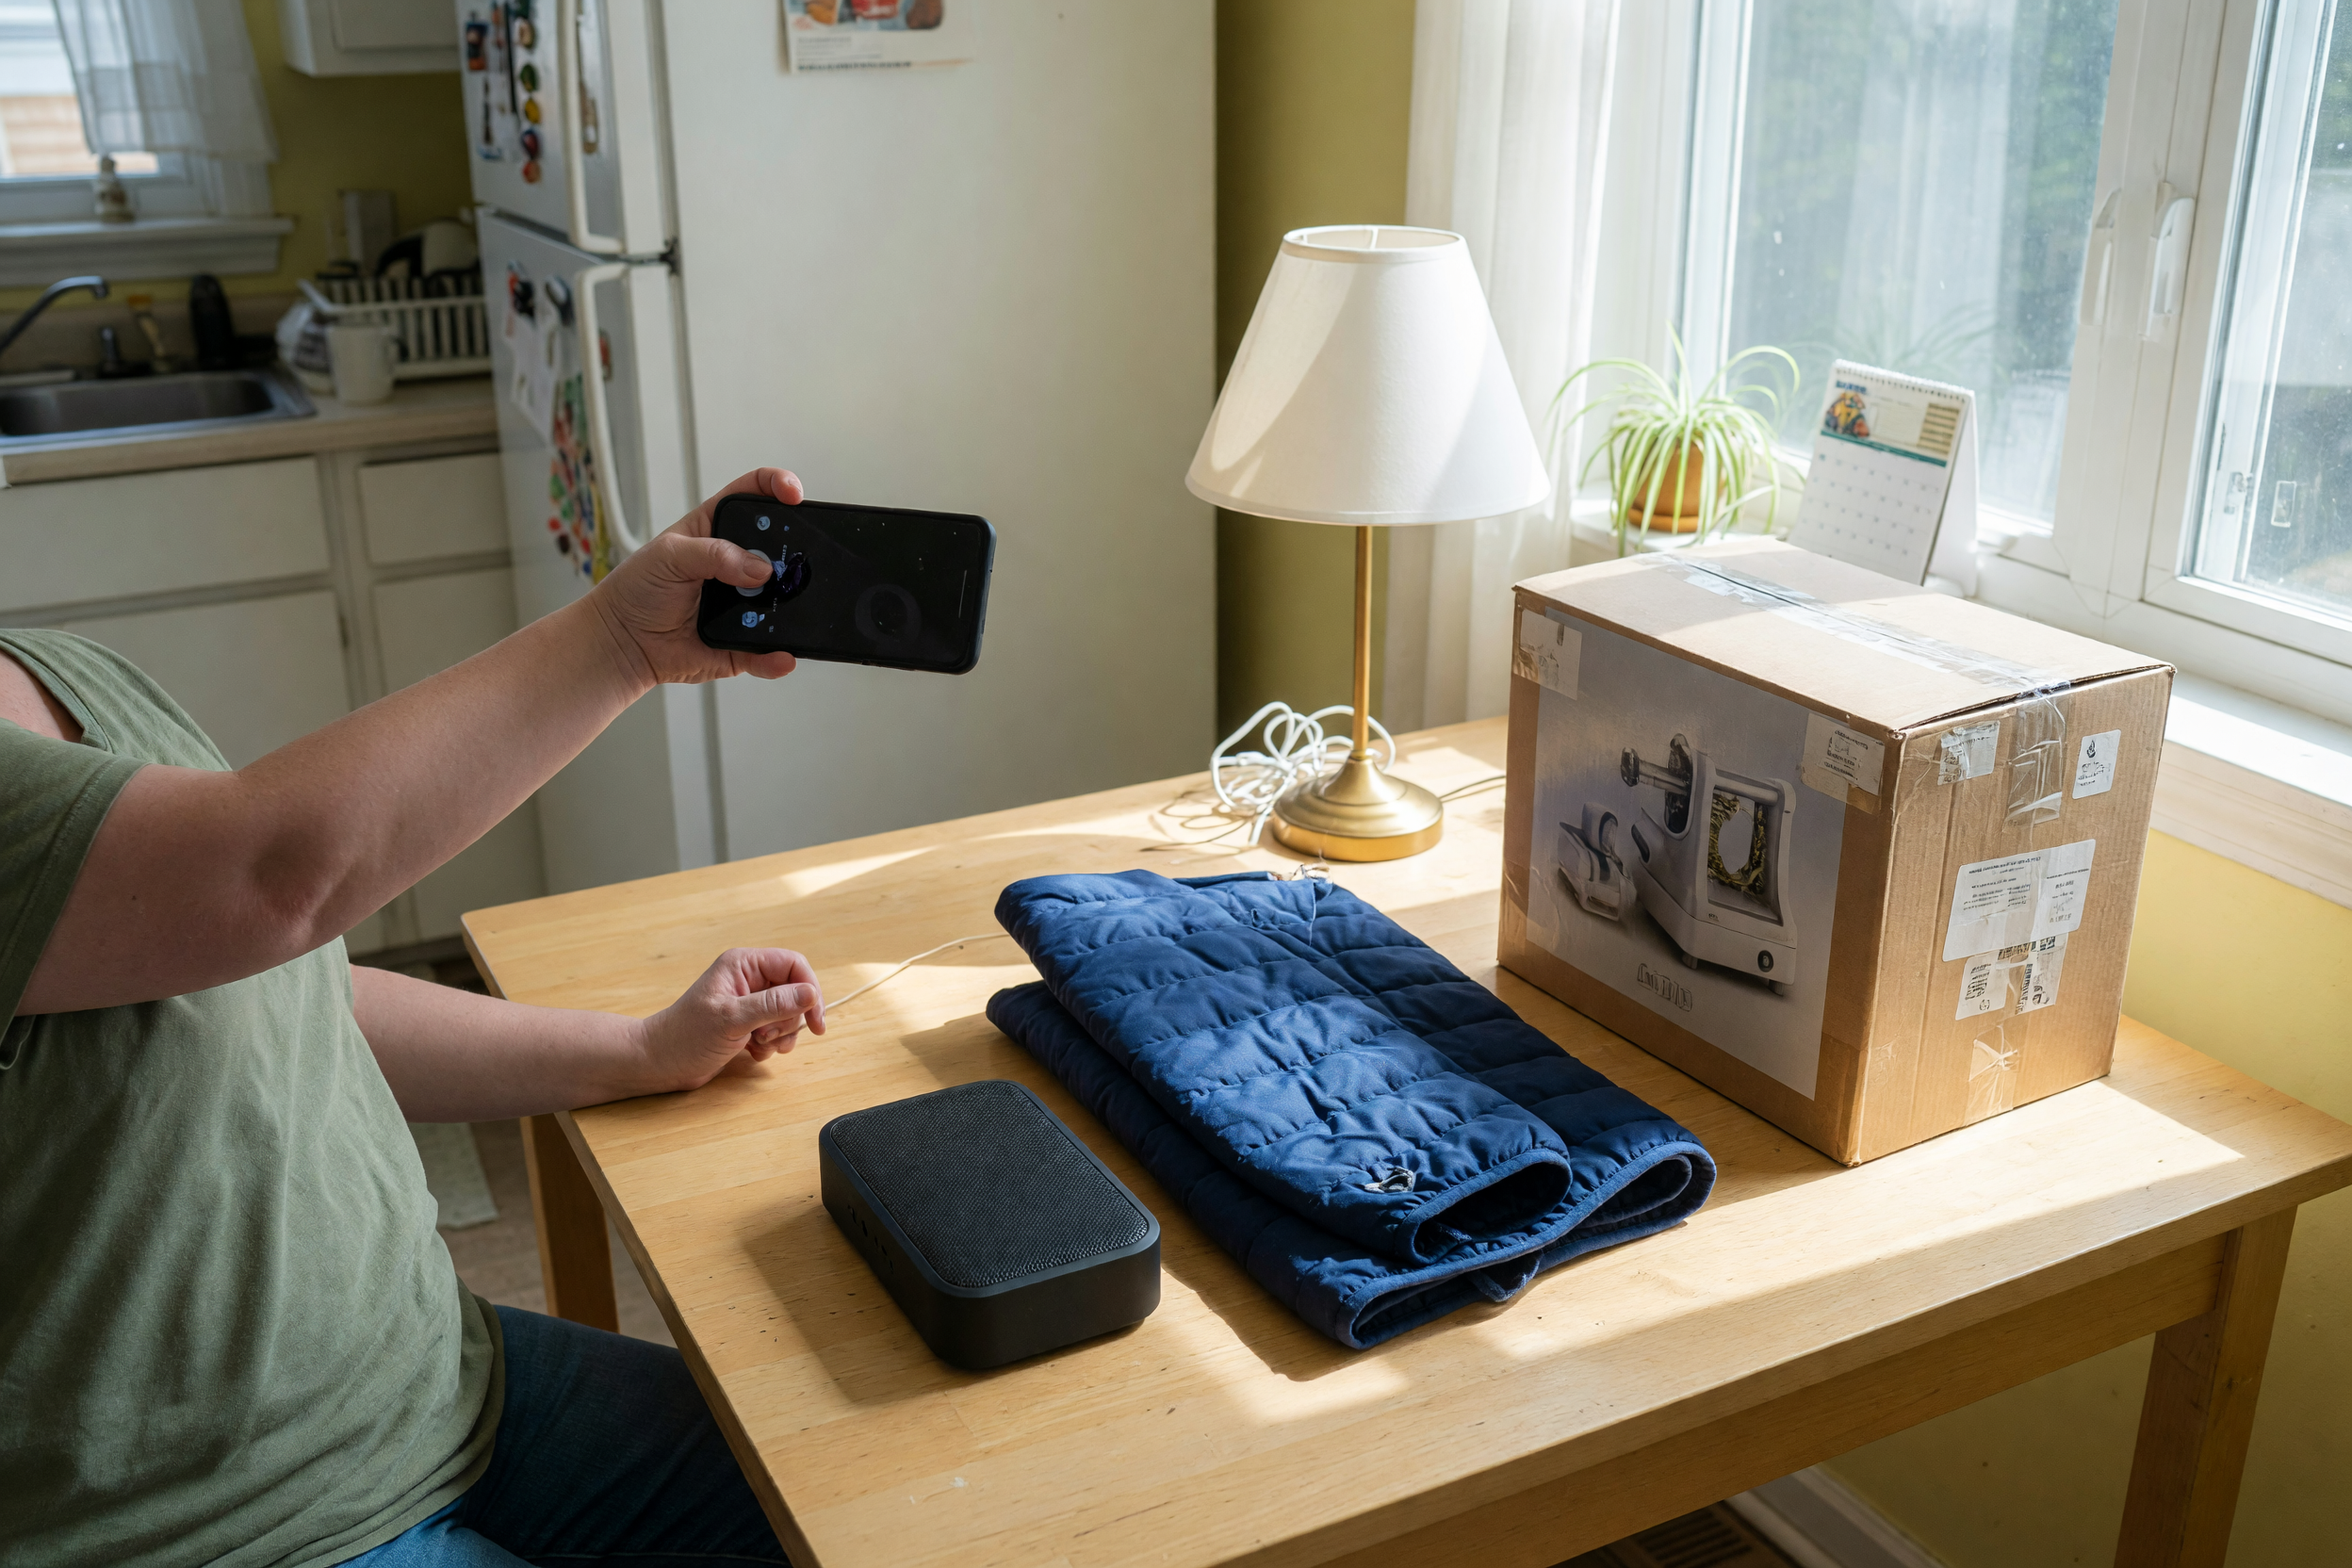
You don't need twenty photos. You need six or seven that each retire a specific buyer question. Take them in daylight, fill the frame with the item, and shoot in this order so you don't forget the ones sellers usually skip — the flaw shot and the size shot.
| Shot | What it proves | Buyer question it answers |
|---|---|---|
| 1. Full item, straight on | The hero shot — the whole thing, level, plain background | "What exactly is it?" |
| 2. Three-quarter angle | Depth and real shape, not just a flat face | "What does it actually look like?" |
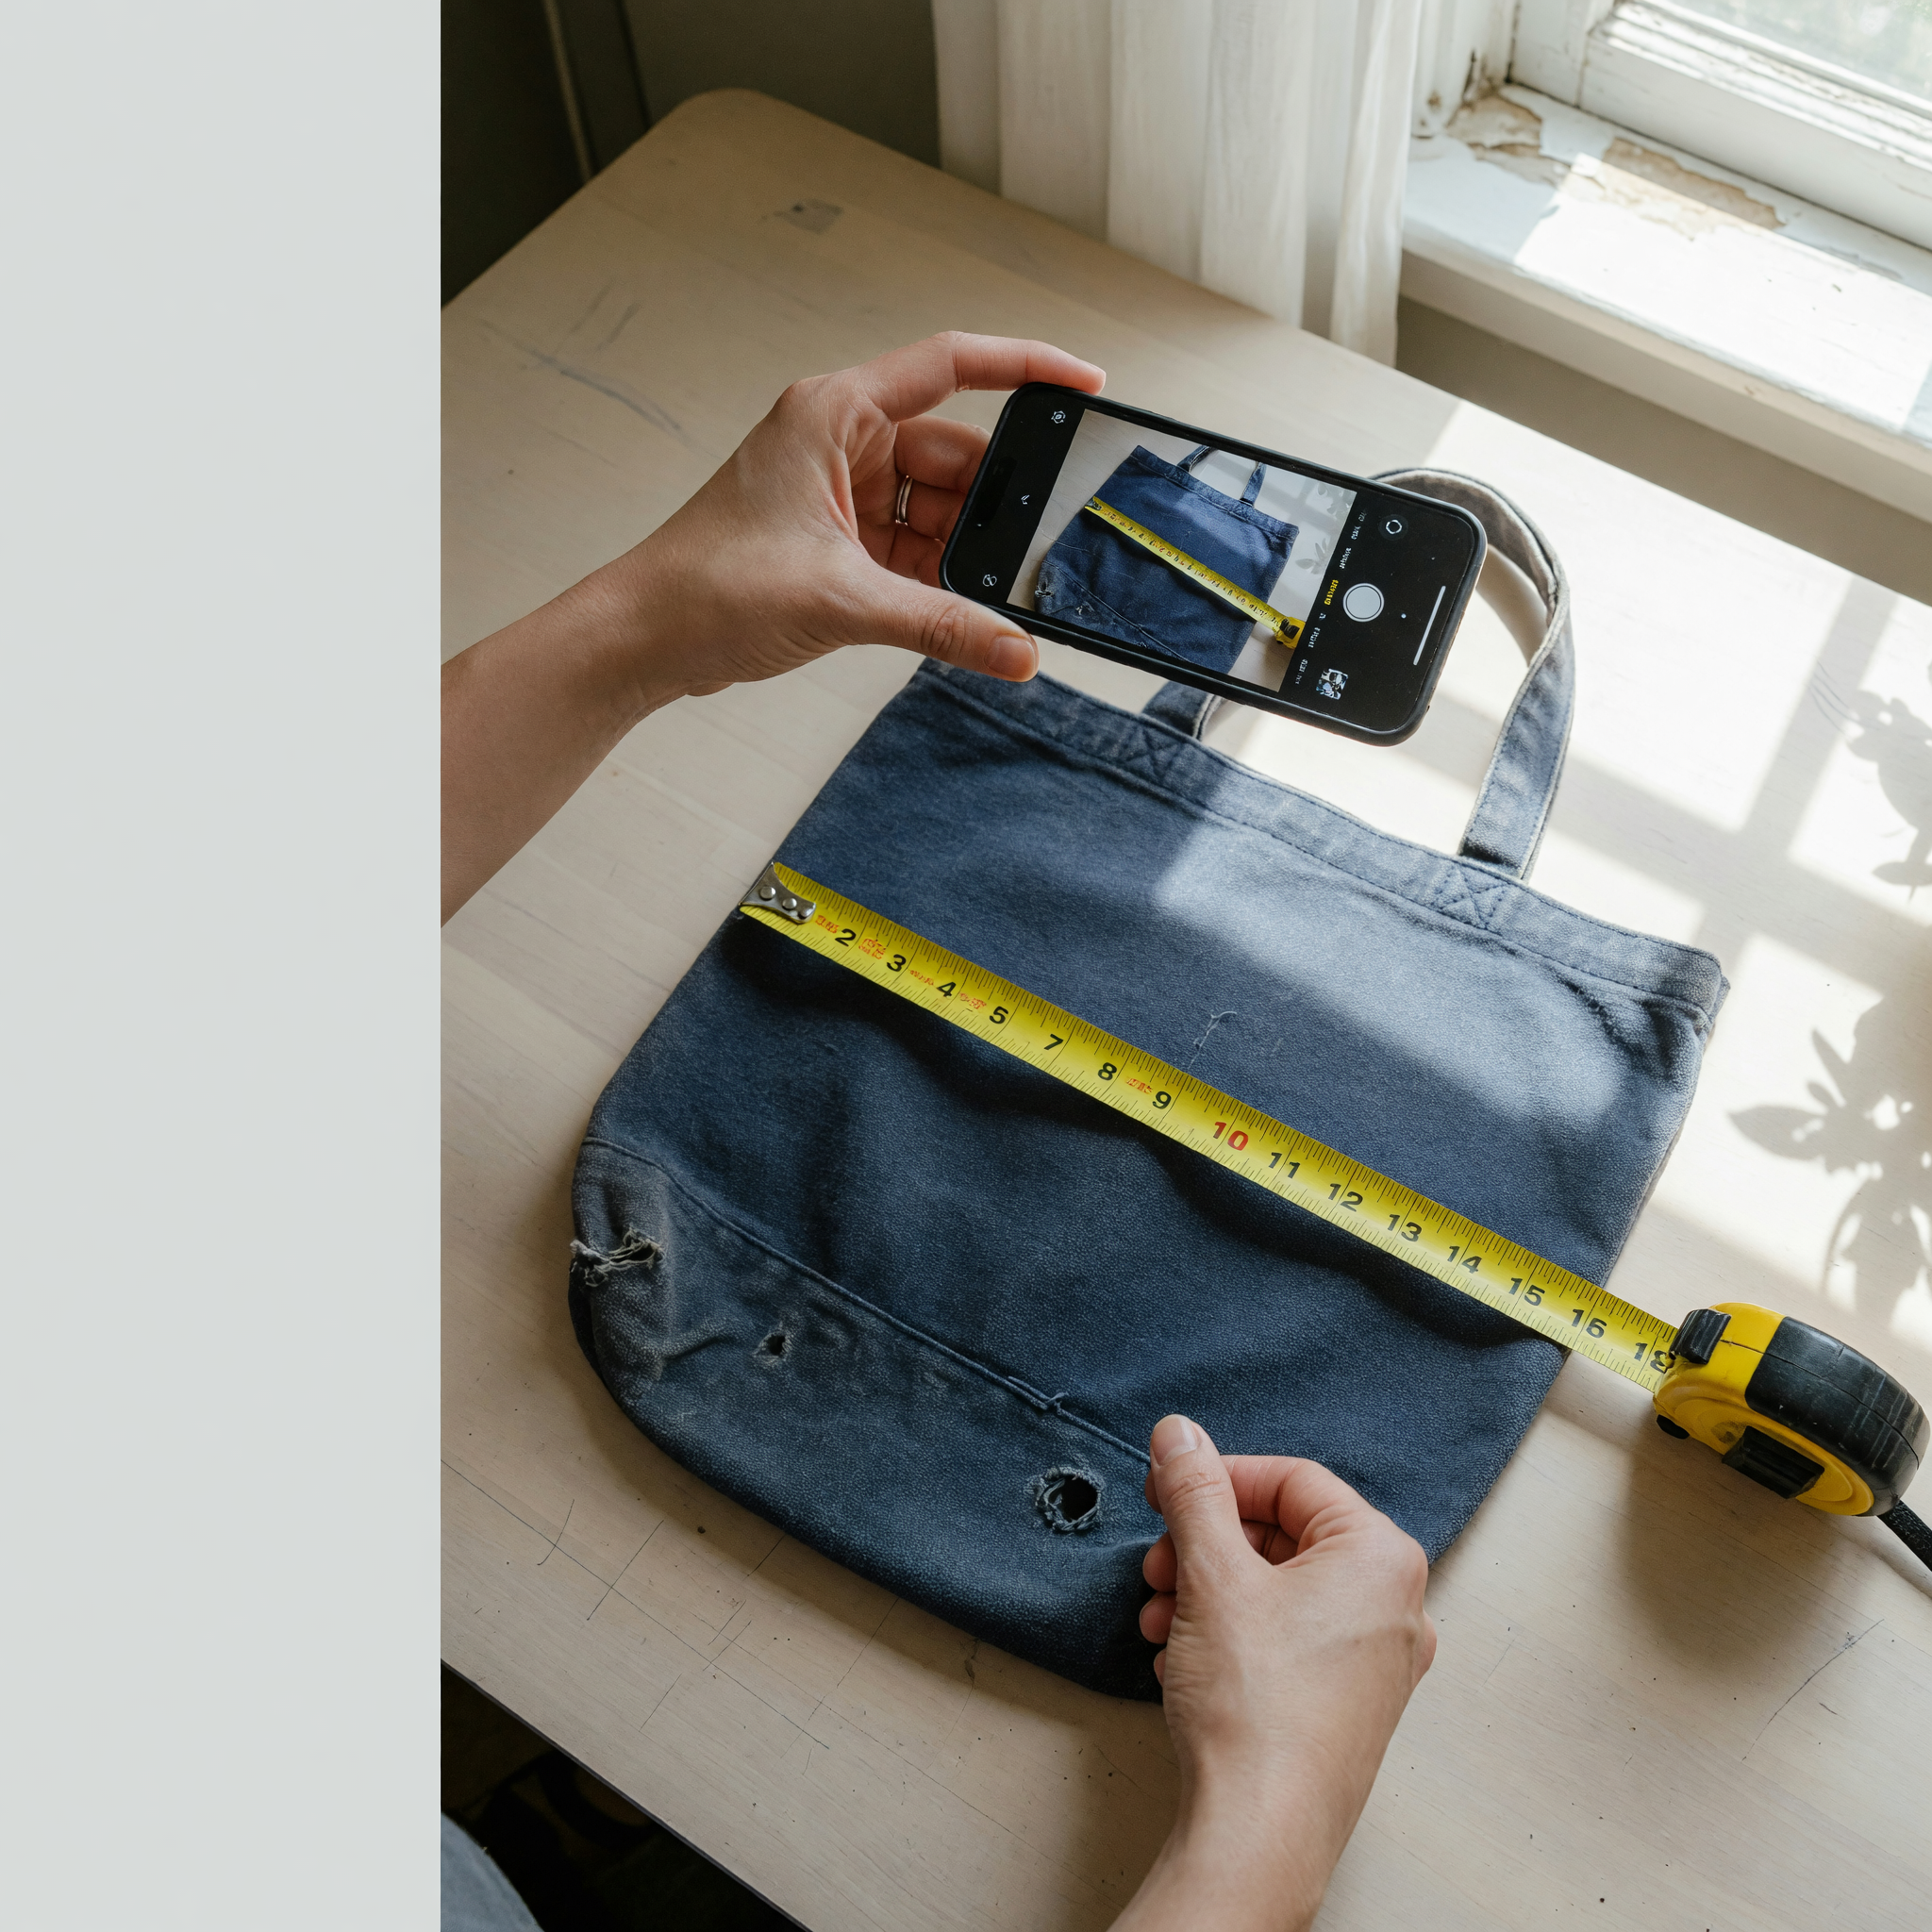
| 3. The size shot | A tape measure across it, or next to a common object | "Will it fit my space / my car?" |
| 4. Close-up of key detail | Fabric, screen, brand plate, model number, tread | "What model / material is this?" |
| 5. The one honest flaw | The scratch, stain, or chip you'll also name in text | "What's wrong with it?" |
| 6. Proof it works | Powered on, screen lit, moving part in use | "Does it actually function?" |
| 7. What's included | Cables, remote, manual, extra parts laid out | "What do I actually get?" |
Not every item needs all seven — a jacket doesn't need a "proof it works" shot, and a lamp does. But the pattern holds: one clear overview, one honest flaw, one size reference, and proof of anything a buyer would worry about. If you want the fields prompted for you as you shoot, the Brixaz listing assistant walks you through what buyers in each category expect to see, so you don't post the item and then remember you never showed the cord.
Lighting and background: the two fixes that do the most
You can skip every trick and still take great listing photos with two habits. First, use daylight. Move the item near a window or step outside into open shade, turn off the overhead yellow bulbs, and never use flash — flash flattens texture, blows out screens, and hides the true color. Morning or late afternoon light is softest. Second, clear the background. A cluttered floor makes buyers read your item as junk by association; a plain wall, a made bed, or a clean table makes the same item look cared-for and worth the price.
These two moves matter more than resolution. A phone photo in good light on a clean surface beats a 4K photo in a dim, cluttered room every time. Wipe the item down first, too — a quick clean makes the photo read truer to the real condition, and buyers see a clean item as one that was looked after.
A quick shot cheat sheet by category
The checklist adapts to what you're selling. Here's the one shot people forget, by category, and where each item belongs so the right buyers find it:
- Furniture — the size shot and the seat/deck under the cushions. Post it in the furniture section with real width, depth, and height in the text.
- Electronics — powered on with the screen lit, plus the model number close-up and every included cable laid out. A dead-screen photo reads as broken.
- Baby gear — the fabric up close, the harness or straps, and any recall-relevant model sticker. Parents want to see it's clean and complete.
- Tools and bikes — the wear points: blade, tread, chain, cord, and battery. Show it running or spinning if it does.
- Clothing — natural light on a hanger or laid flat, a tag close-up for size and brand, and a shot of any pilling or stain.
Whatever the category, browse what comparable items look like on local search before you shoot — you'll spot instantly which listings you'd message and which you'd skip, and copy what the good ones do.
Bad photo versus better photo, in one glance
The difference is rarely the item — it's what the frame shows. Compare these common misses with the fix:
| Common bad photo | Better photo |
|---|---|
| One dim shot from across the room | Full item, filling the frame, in window light |
| Item on a cluttered floor with laundry behind it | Item on a clean table or against a plain wall |
| No size reference at all | Tape measure across it, or a phone/soda can beside it |
| Flaws hidden or cropped out | The scratch shown close, and named in the text |
| Electronics shown switched off | Powered on with the screen or light visible |
| Ten near-identical blurry angles | Six or seven sharp, purposeful shots |
Notice the flaw row. Hiding damage feels safer, but it backfires: the buyer finds it on pickup, feels misled, and either walks or grinds you down in your driveway with the item half-loaded. A flaw shown up front and named plainly — "small chip on the back corner, shown in photo 5" — does the opposite. It tells a stranger exactly what they're getting, and that honesty is what makes them comfortable paying. Disclosed flaws close sales; surprise flaws kill them.
Turn the photos into faster messages
Good photos pull buyers in; a tight caption and a fast first reply close them. Under your photos, write a short line, then the details buyers always ask, as a quick list: what it is, size, condition, what's included, price, and pickup area. Every line you add is a message you won't have to send later. Before you set the number, it's worth checking what similar items actually go for so you don't scare buyers off or leave money on the table — run yours through the Brixaz price checker for a quick local read.
When a buyer does message, answer with the item still framed the same way: confirm it's available, restate the pickup area and a time window, and offer to hold it. A listing built this way — clear photos, honest flaw, real size, prefilled details — turns a scroll into a pickup. When it's ready, you can post it with the selling form ready to go and let local buyers reach you directly.
Related truck seller guide: sell a used pickup truck locally
For tool sellers who need more specific photo examples: power tool listing photos that show model, battery, and test proof
For stroller and car seat sellers: used stroller listing photos and safety details
Clothing lots need a slightly different photo sequence; use this clothing bundle photo checklist
If your photos are part of the service you sell: event photography package listing
For camera bodies and lenses, use a more specific photo checklist: camera gear photos for a used listing
FAQ: taking marketplace photos that get replies
How many photos should a marketplace listing have?
Six or seven purposeful shots beat twenty near-identical ones. Aim for a full overview, a three-quarter angle, a size reference, a close-up of a key detail, one honest flaw, proof it works if it's electronic, and a shot of what's included. That covers every buyer question without burying the important photos.
Do I need a good camera to sell used items?
No. Any modern phone takes photos that are more than good enough. What matters far more is light and background: shoot near a window with the flash off, on a clean surface or against a plain wall. A phone photo in good light beats an expensive-camera photo in a dark, cluttered room every time.
Should I show scratches, stains, and damage?
Yes, and it helps you sell faster. Show the flaw up close and name it in the text. Buyers forgive disclosed flaws because they know exactly what they're getting; what they don't forgive is finding a surprise on pickup, which is where deals collapse or get renegotiated. An honestly-flawed item at a fair price outsells a "perfect" one buyers don't believe.
What's the most-skipped photo that costs sellers messages?
The size shot. Buyers constantly ask "will it fit?" — through a door, in a car, on a shelf. Lay a tape measure across the item, or set a common object like a phone or soda can beside it, so the scale is obvious at a glance. It answers a whole round of messages before they're sent.
How do I make electronics look trustworthy in photos?
Photograph them powered on — screen lit, indicator light showing, or the part moving. A switched-off device reads as "might be broken." Add a close-up of the model number or brand plate and a shot of every included cable and accessory laid out, so buyers know exactly what they're getting.
Where should I post the item once the photos are ready?
Post it to the marketplace category that matches the item so the right local buyers find it — furniture in the furniture section, and general used goods through the sell-used flow. Choosing the clean, correct category matters as much as the photos, because it puts your listing in front of buyers already looking for exactly that.



Comments
Loading comments...
Checking sign-in status...